
One thing I hate about line drying is how my clothespins always get nasty out on the line, with dirt and muck, and the worst of worsts, spider webs and spiders. I remember when I was a little girl (do I sound like an old lady now?) my Nanoo would have this nice little purse looking thing that hung on the clothes line and she would take it in and out with her. Her clothespins were always nice. I wanted one. But the problem was, I never thought about it while I was out, plus, if I can make one, that would save at least ten bucks, according to Amazon.
Well, today my machine was already out because I've been working on making some more baby wipes, so I decided to give it a shot.
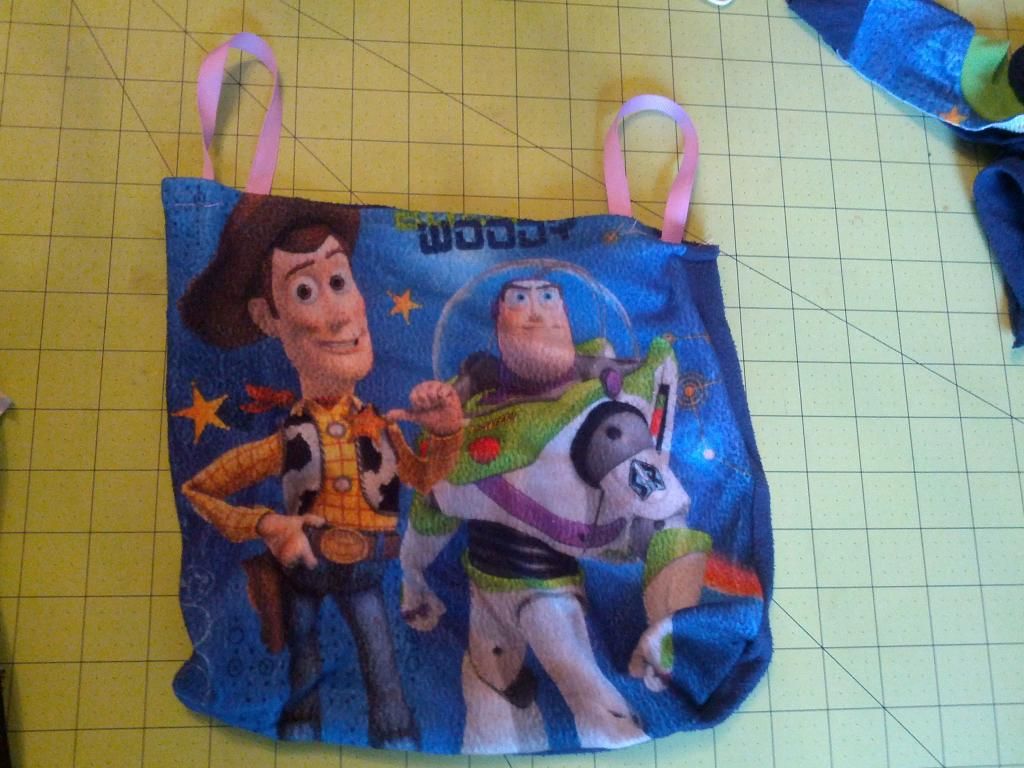
I went through the boys' outgrown clothes and found a fleece pajama top. I chose fleece because it is somewhat water repellent, just in case it would get wet from the clothes or a surprise shower.
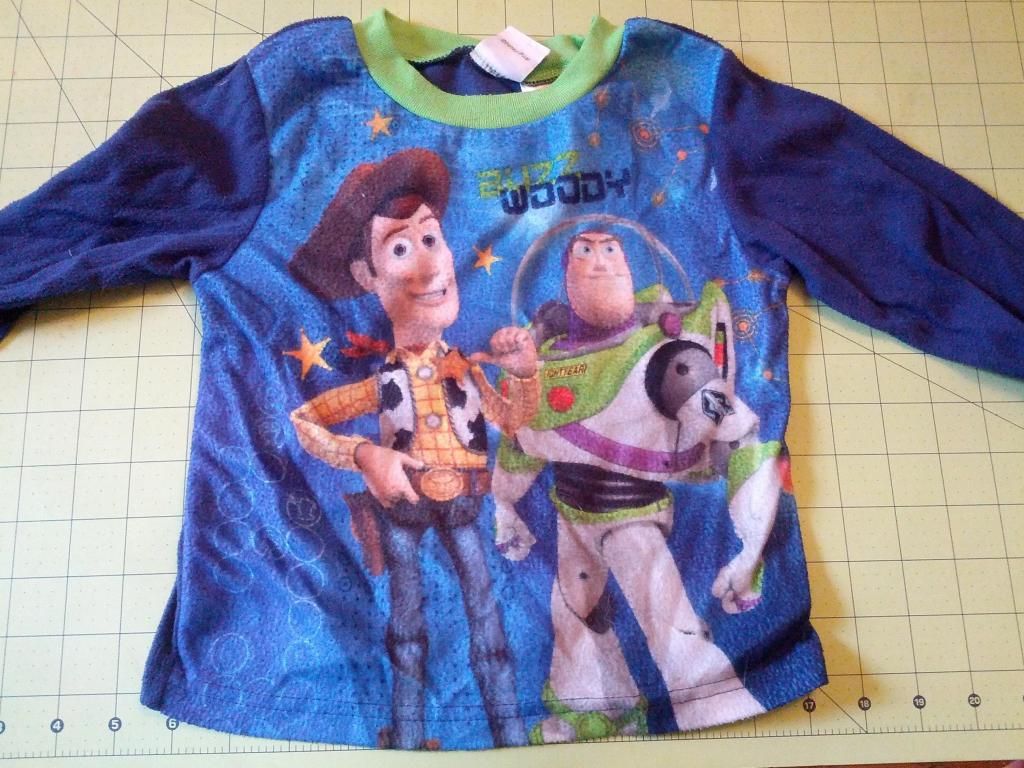 |
| This is a 3T, but I think any smaller size would work. |
Then I cut off the sleeves, leaving a little room to sew them together, and cut off the top, above Buzz and Wood's head. I would have cut below the sleeves, but I didn't want to behead the guys, plus the bag would have been smaller.
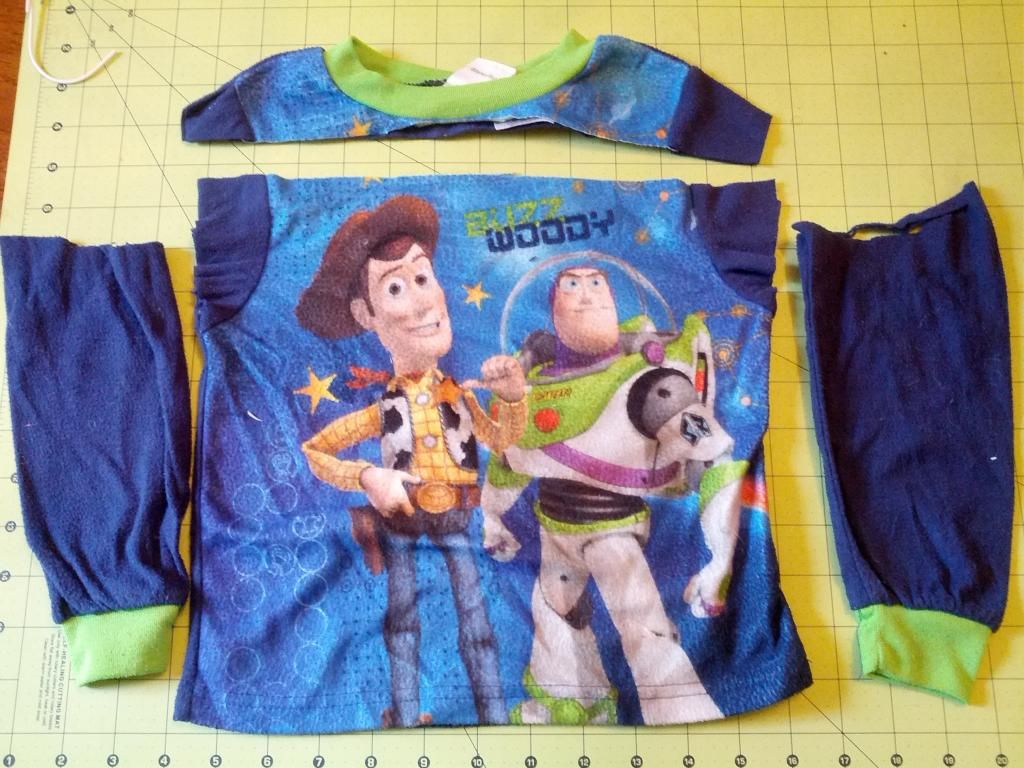 |
| You can toss the scraps, unless you want to save them for something else. |
I then turned the square inside out. I trimmed the sleeves that were left a little more, then sewed the holes shut, I also sewed the bottom shut. Leave the top open.
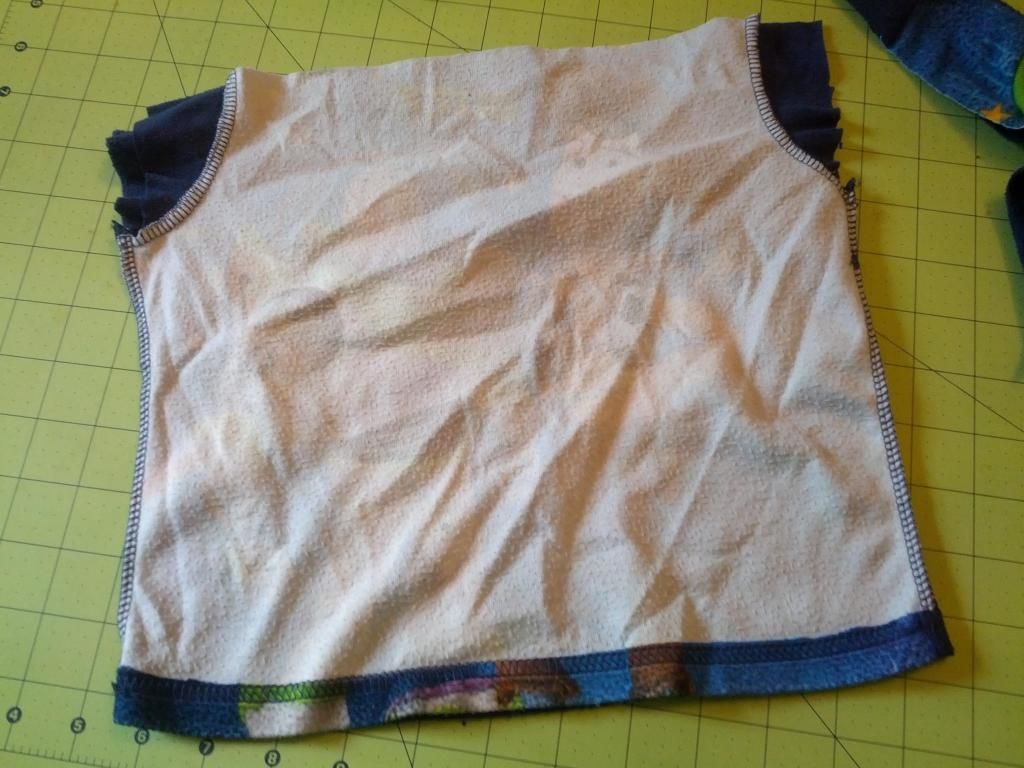 |
| Inside out. |
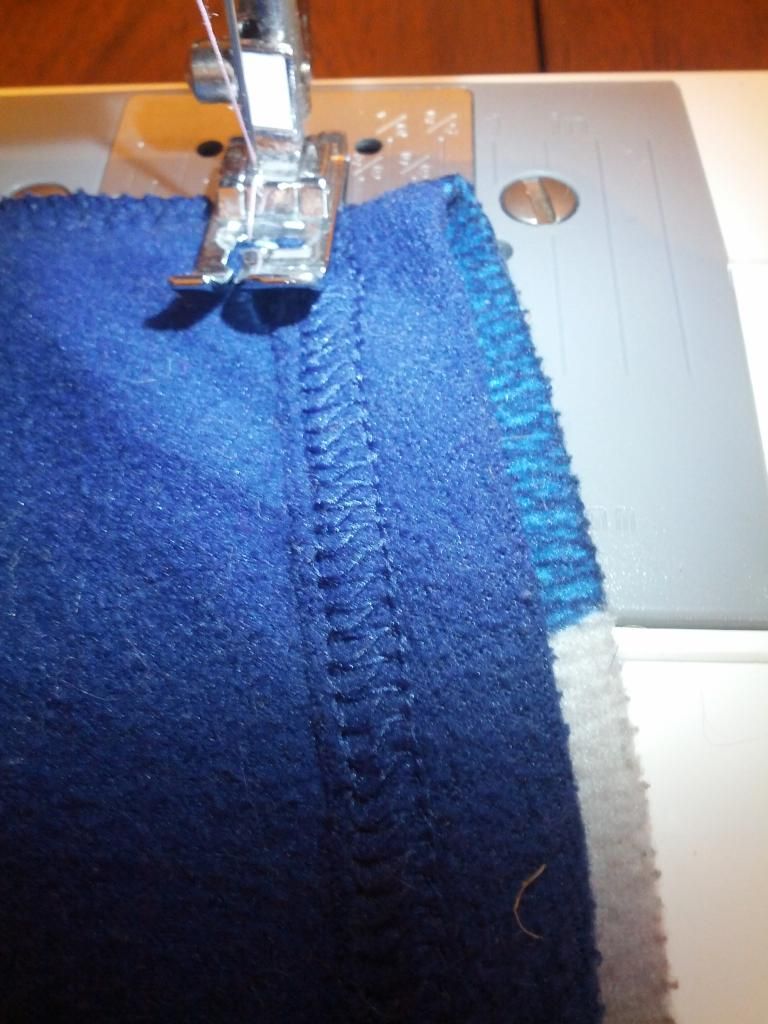
Then, while it is still inside out, you want to roll the top down to form a cuff around the entire bag. Then sew all the way around the cuff to hold it down. Be careful to not sew the bag shut.
You don't have to do this if you use fleece, I just think it looks better this way, but if you use a different fabric and you don't do this, it will probably start fraying eventually.

After you get the top sewn, then you cut out two pieces of ribbon the same length. Mine were about 8 1/2 inches long.
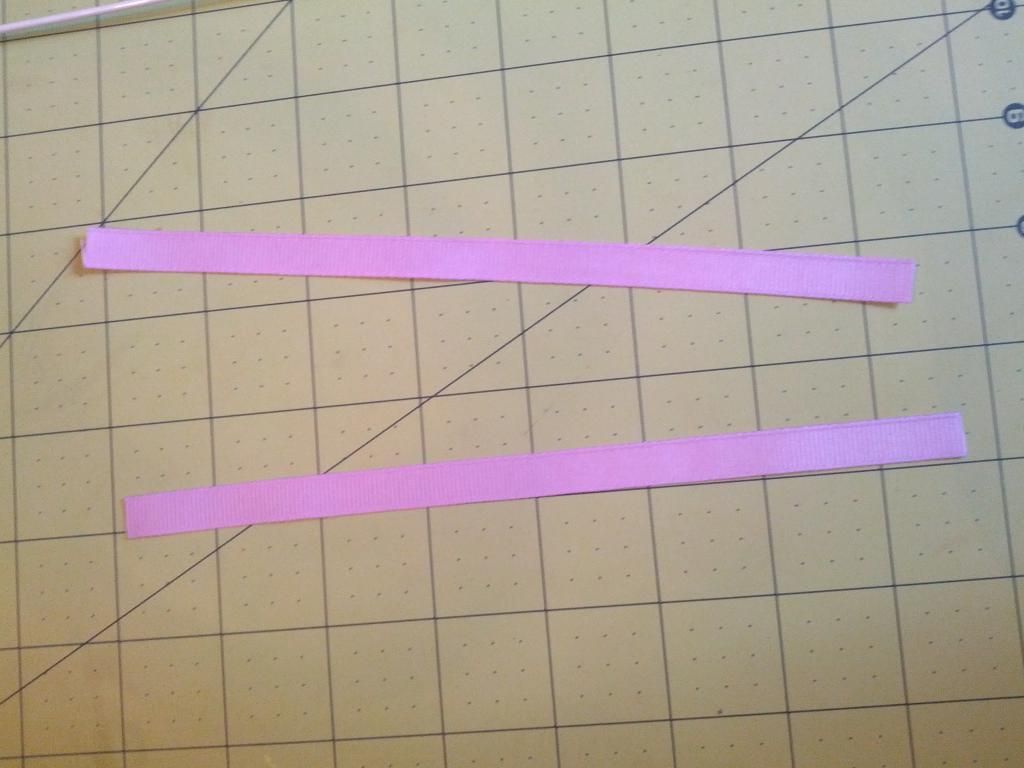
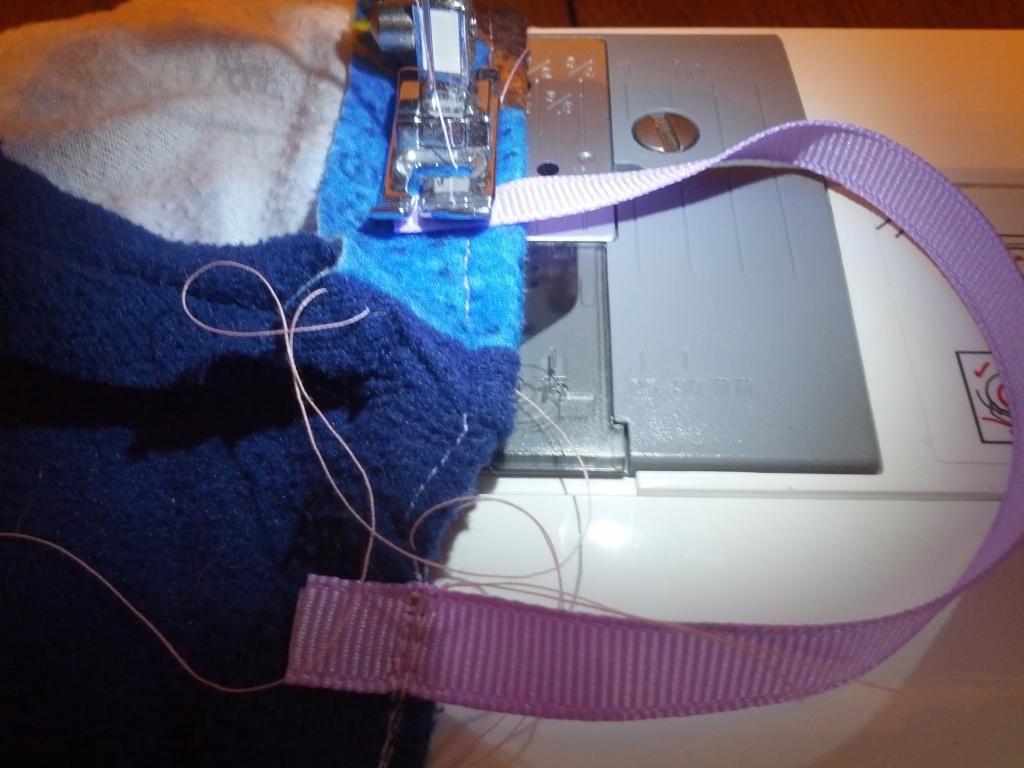
You want to sew the ribbon into each side of the bag.
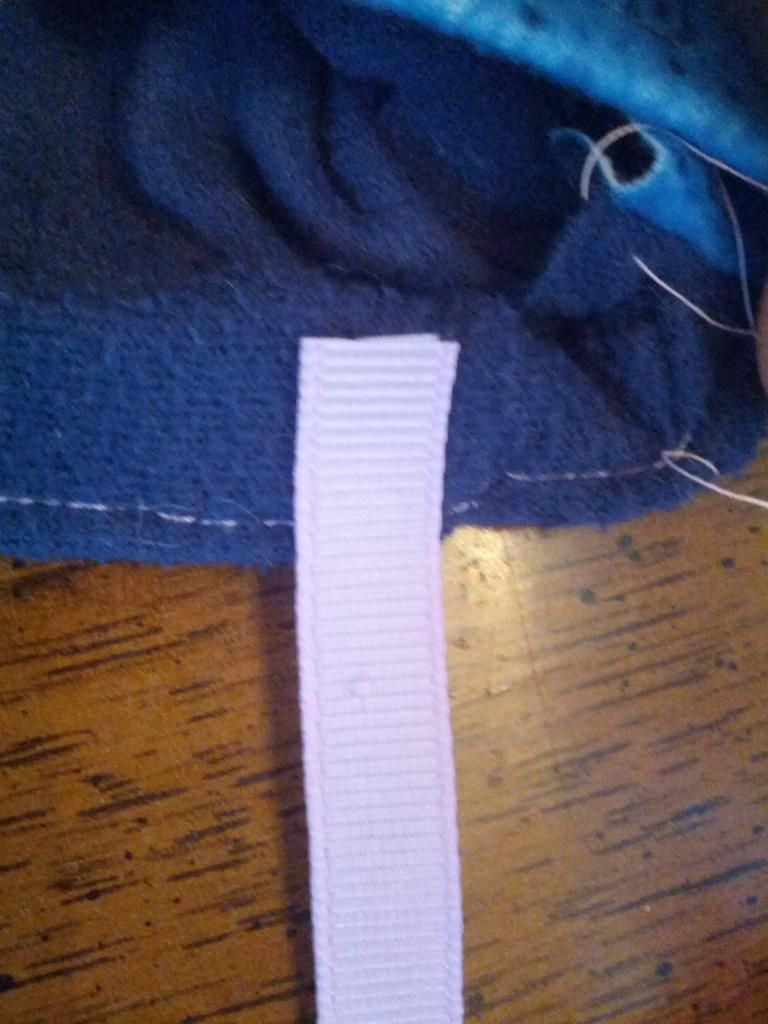
I sewed them about a half inch down to give it plenty of room in case the ribbon frayed.
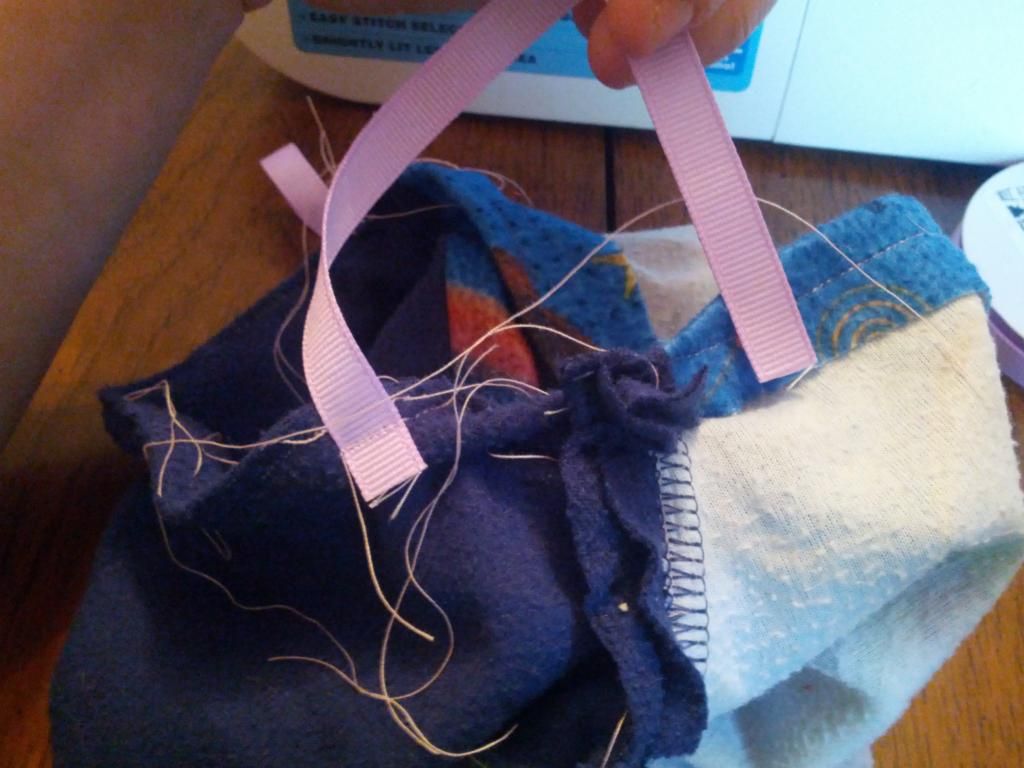 |
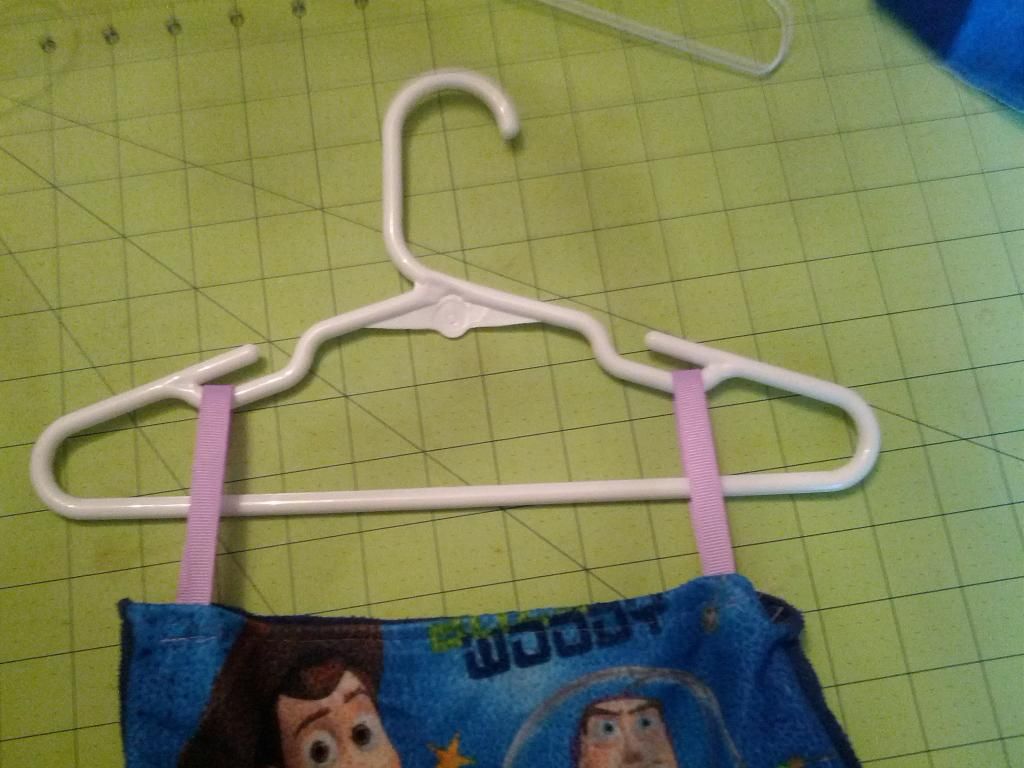
| Ribbon placement, you want one ribbon on each side of the bag. The other ribbon is on the other side, near the other hem. |
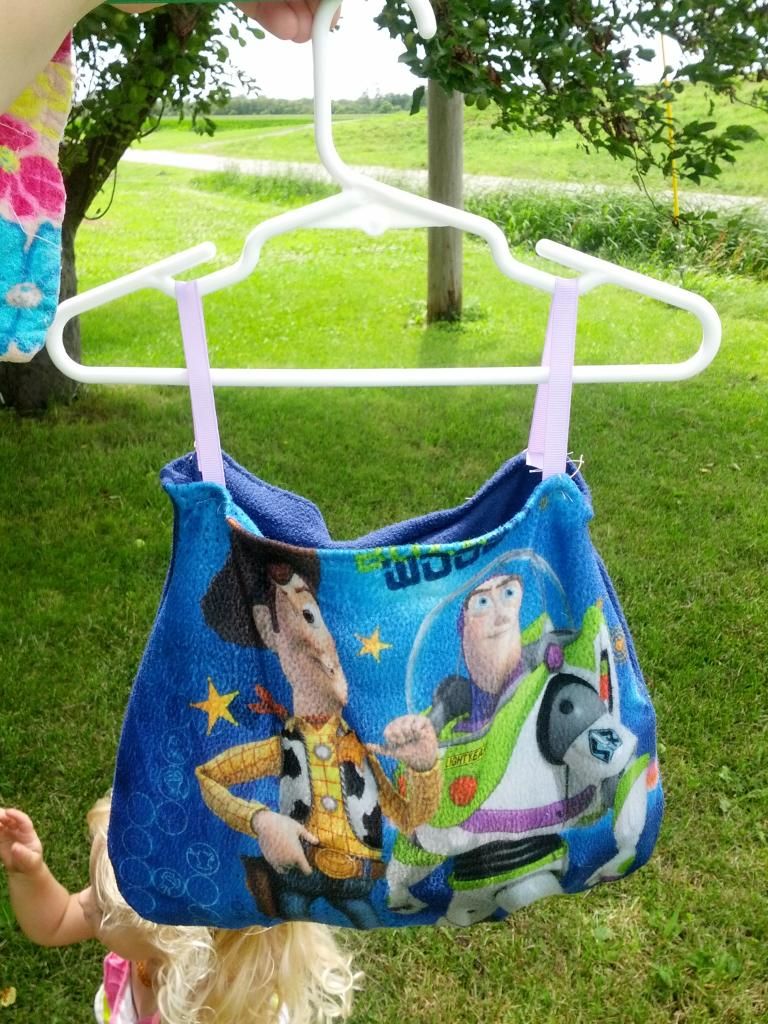
Then flip the bag right side out and it is done.
Clip off any extra strings. Hang the bag on a baby hanger, and there you go! Easy peasy. It took me roughly 5 minutes start to finish. It isn't perfect, but it works well. Alta saw it and wanted it, so I guess I change the ribbon placement and make her a purse out of one.
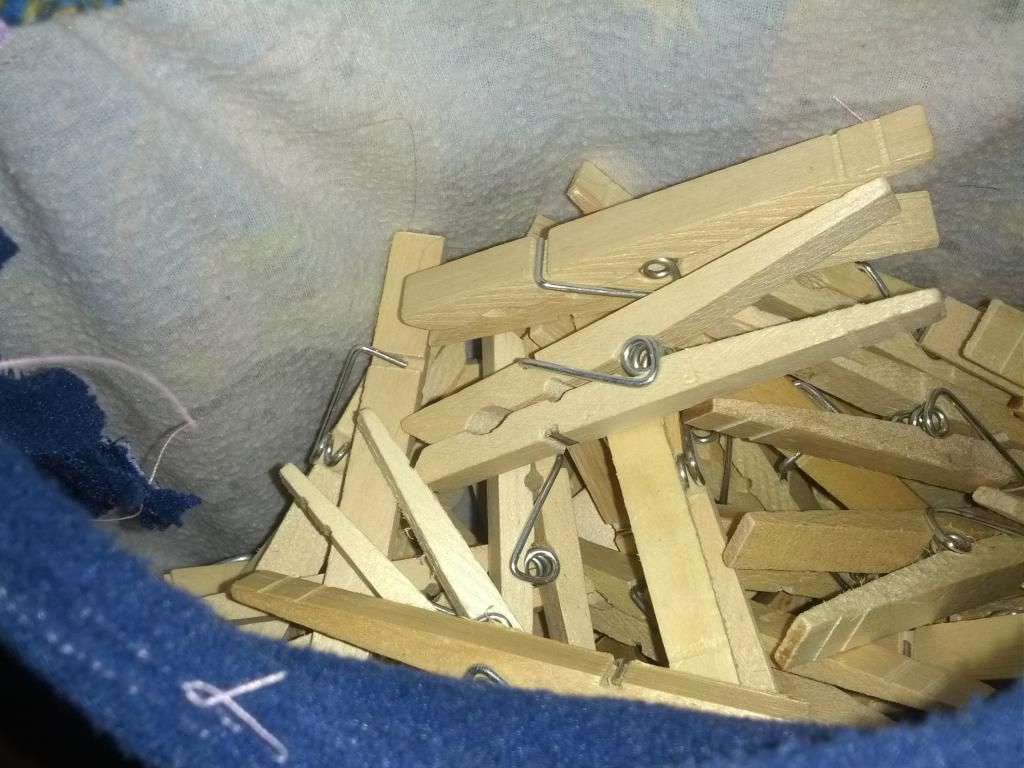 |
| Nice, new, clean clothespins! |
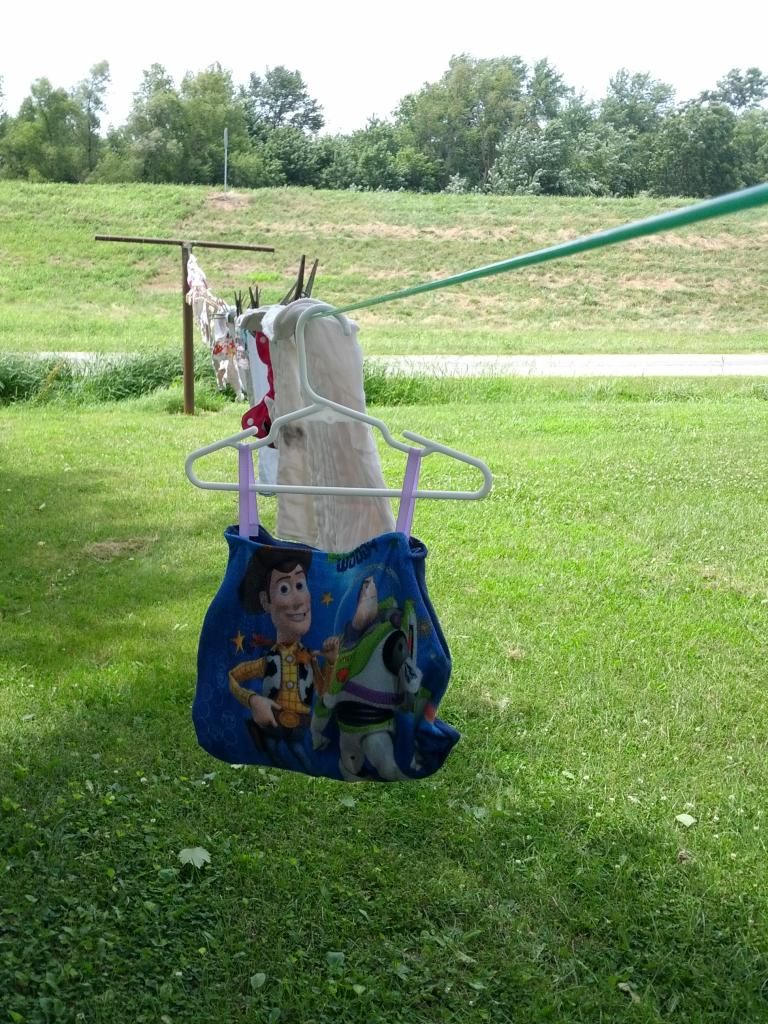
I'm planning on bringing mine in when I gather my last load of clothes off the line and hanging it in my laundry room. Now I just need a few more lines.

No comments:
Post a Comment