

So I thought to myself, hmmm I like the chicken wire and frame itself. but I hate the flowery thing.
And then I though, hmmm, I've been wanting to make Alta a bow holder. Aha! Re-purpose that frame thing.
And then I bought the supplies, the paint, the paint brush and ribbon. And then it sat. While I thought about doing it. Eventually.
Well, I got around to it today. And it wasn't hard at all. It took forever, but that was because of the paint drying time. So I am going to show you, my lucky readers, how I did it. Just in case you want to make one yourself. Although you probably don't have the frame already, you could easily buy a frame and staple some chicken wire to it.
First things first, I had to take off those crumpled up flowers and the scary bird and its nest.
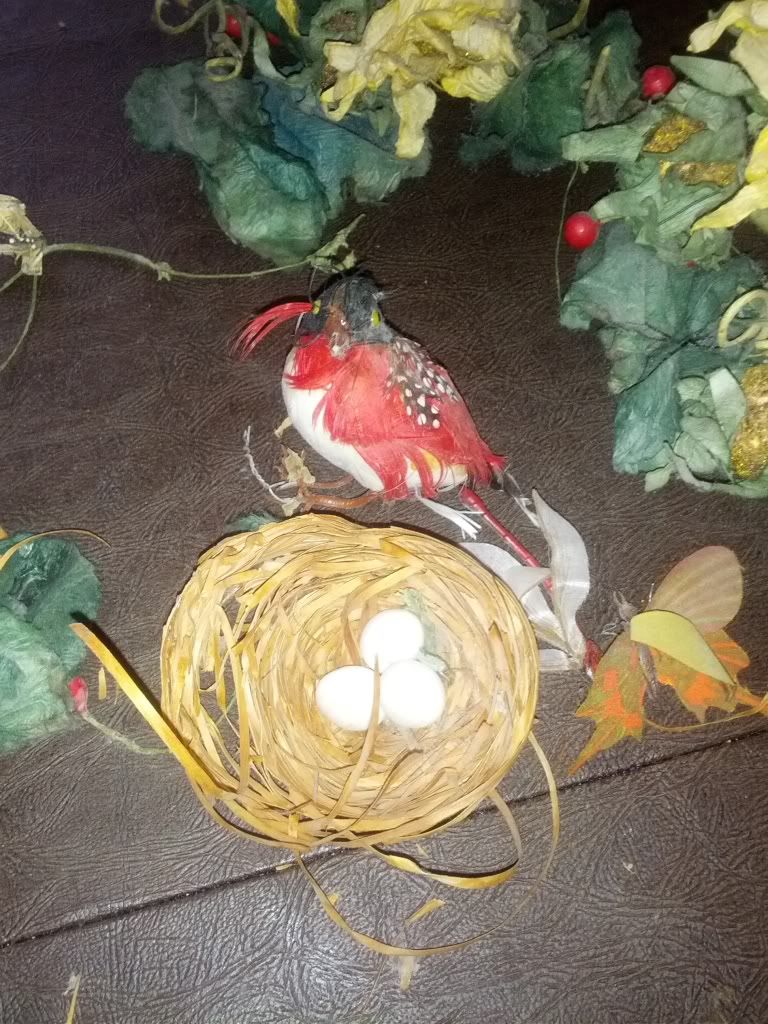 |
| Scary bird is watching you |

After scary bird and company were removed, this is what I ended up with. A quick wipe with a baby wipe, and I was ready to lay down news paper and get to painting.
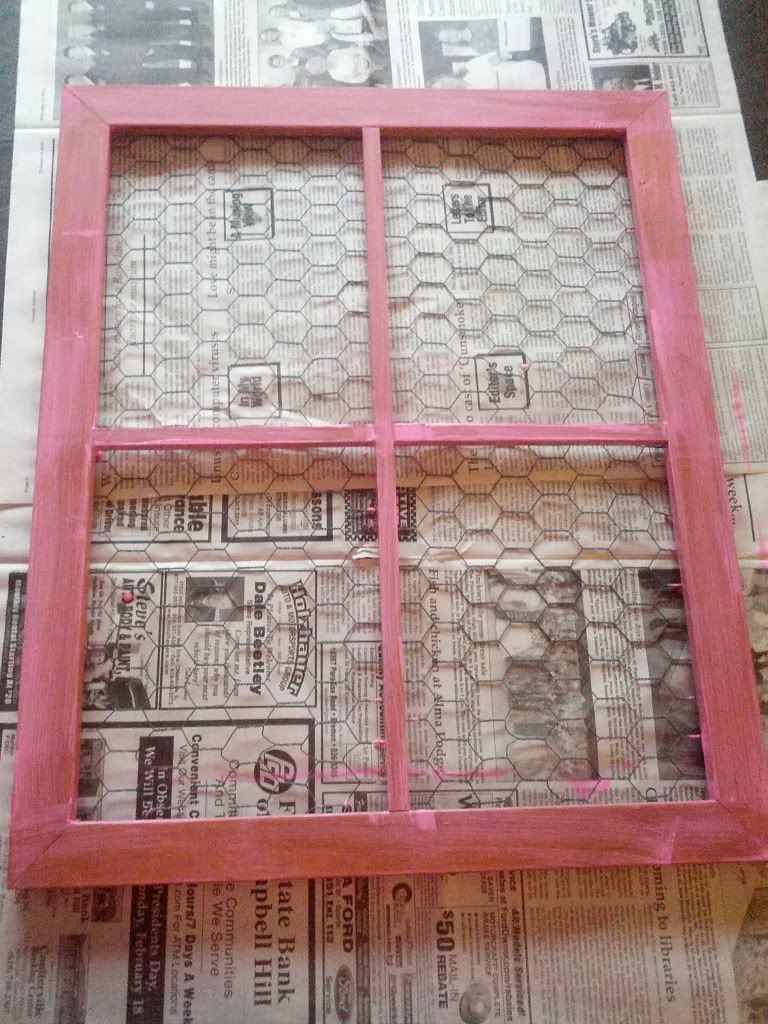
After my first coat of paint, I thought, well, this will be really pretty when it's done! At this point, I was still smiling.
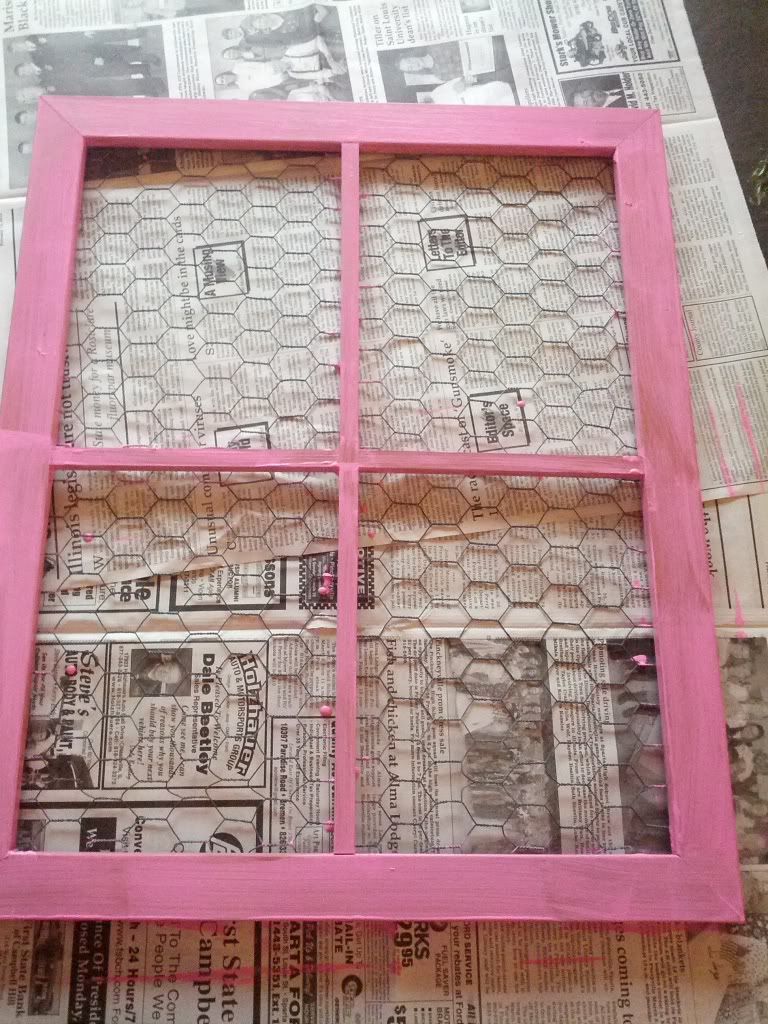
Then I got to my second coat, and it looked the same as my first coat. I quit smiling and thought, this is a waste of time.
Six coats later, a stomped foot, and a few tears later, (kidding! maybe) I finally got it painted and looking decent.
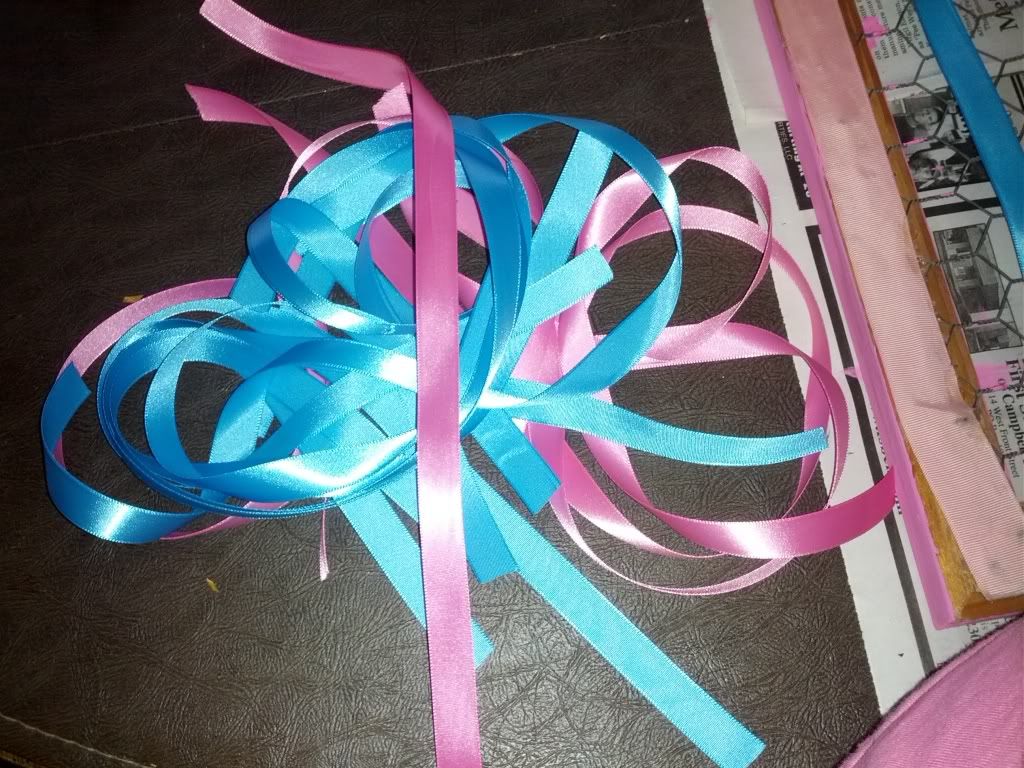
I then eyeballed and cut my ribbon and hoped for the best, because that's how I roll.
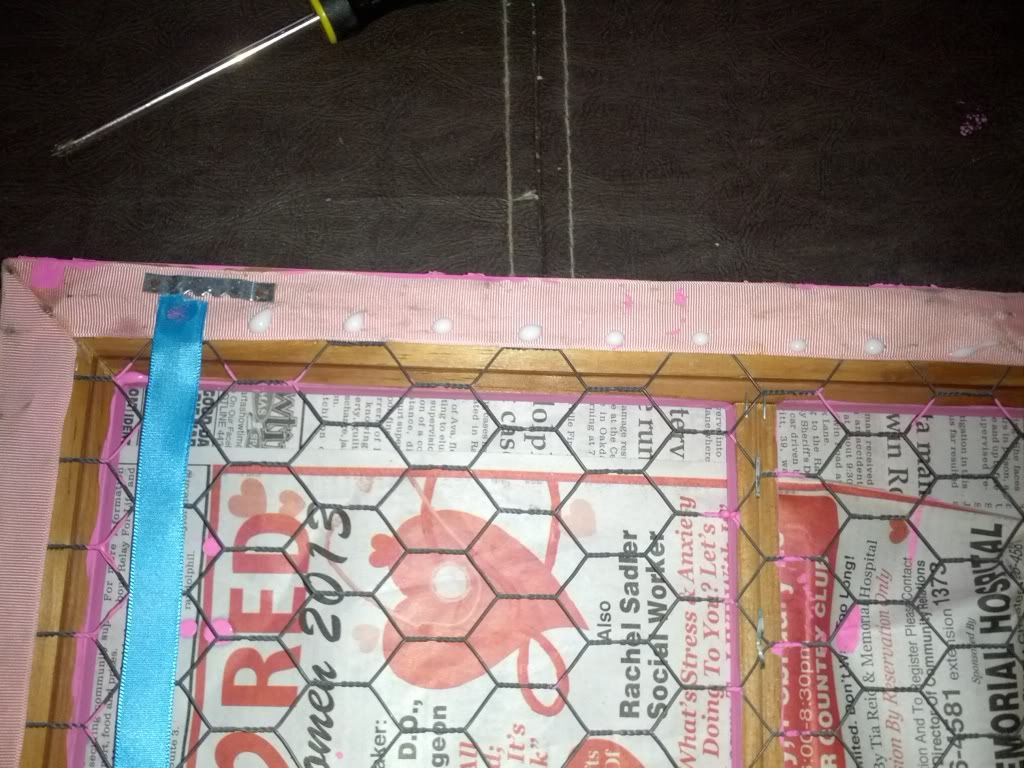
And then realized I couldn't find my glue gun. But no worries, I have 2 million bottles of Elmer's School Glue around here. So I added a drop above every place a ribbon would go.
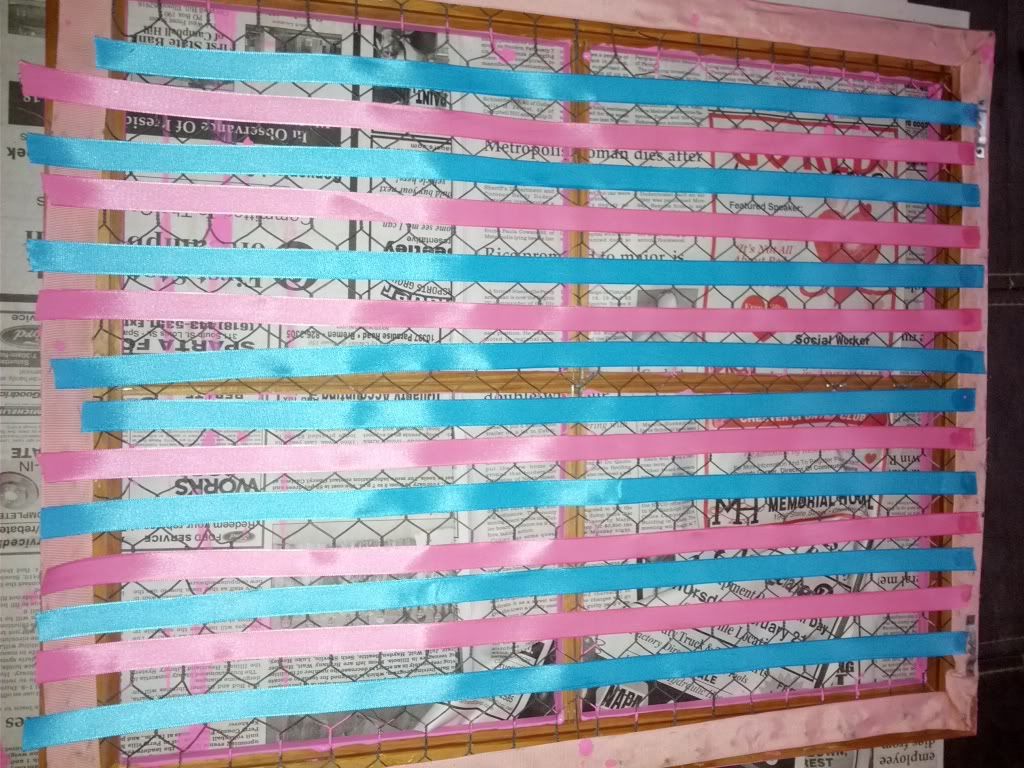
I put all the ribbons on the dot. Luckily, they all were long enough, but a few were pushing it. I let the glue dry for 20 minutes or so before I started weaving through wire.
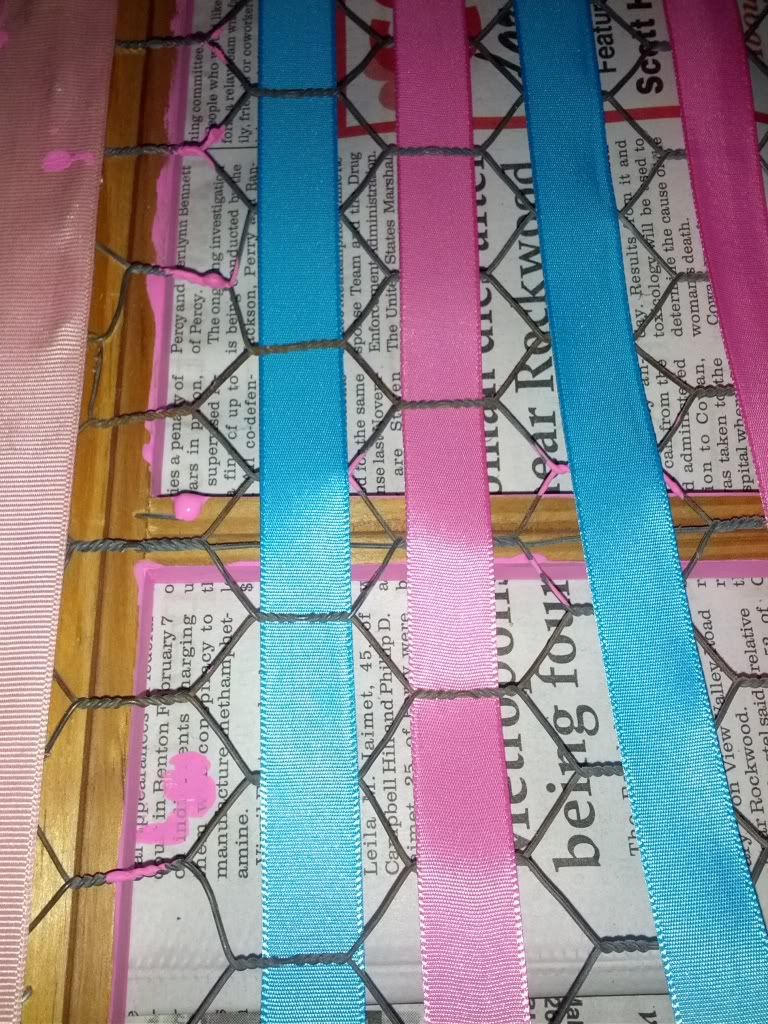
I went over and under and over and under, also known as weaving, for all of the ribbons and glued the bottoms on the bottom of the frame.
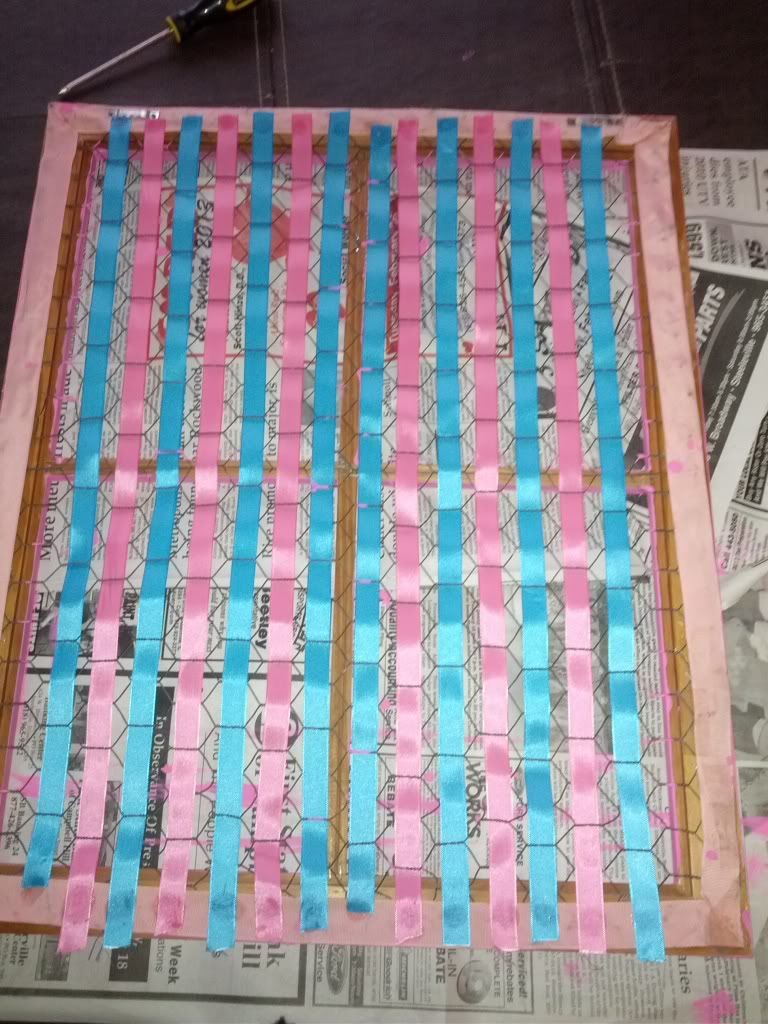 |
| Weaved and glued |
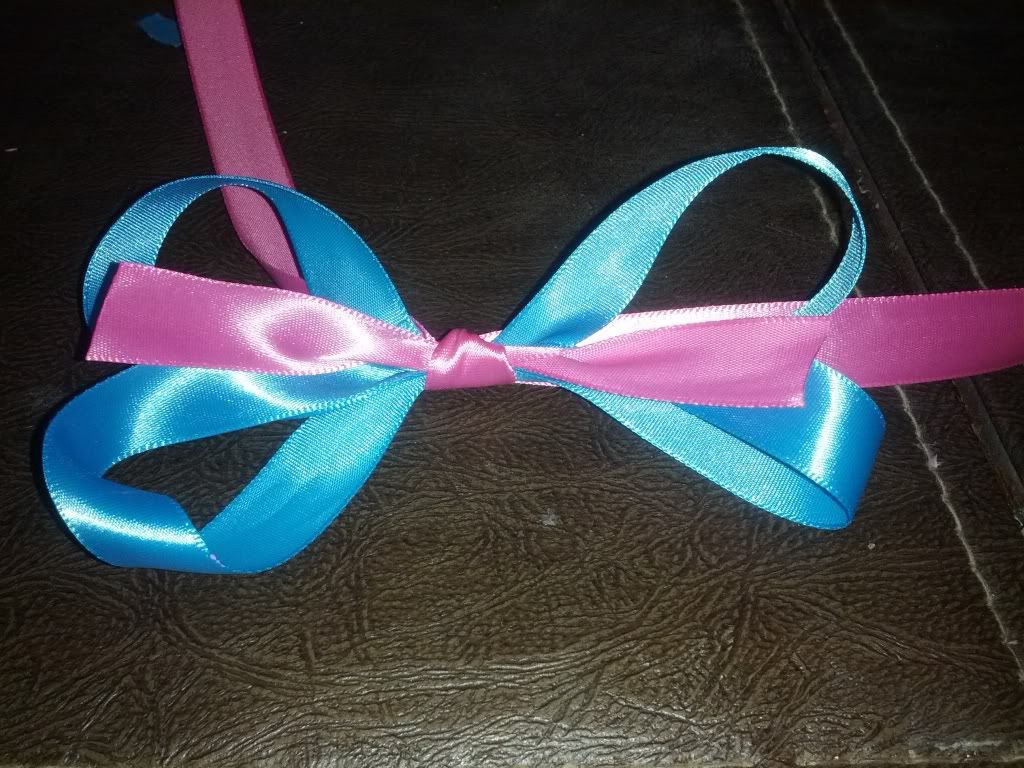
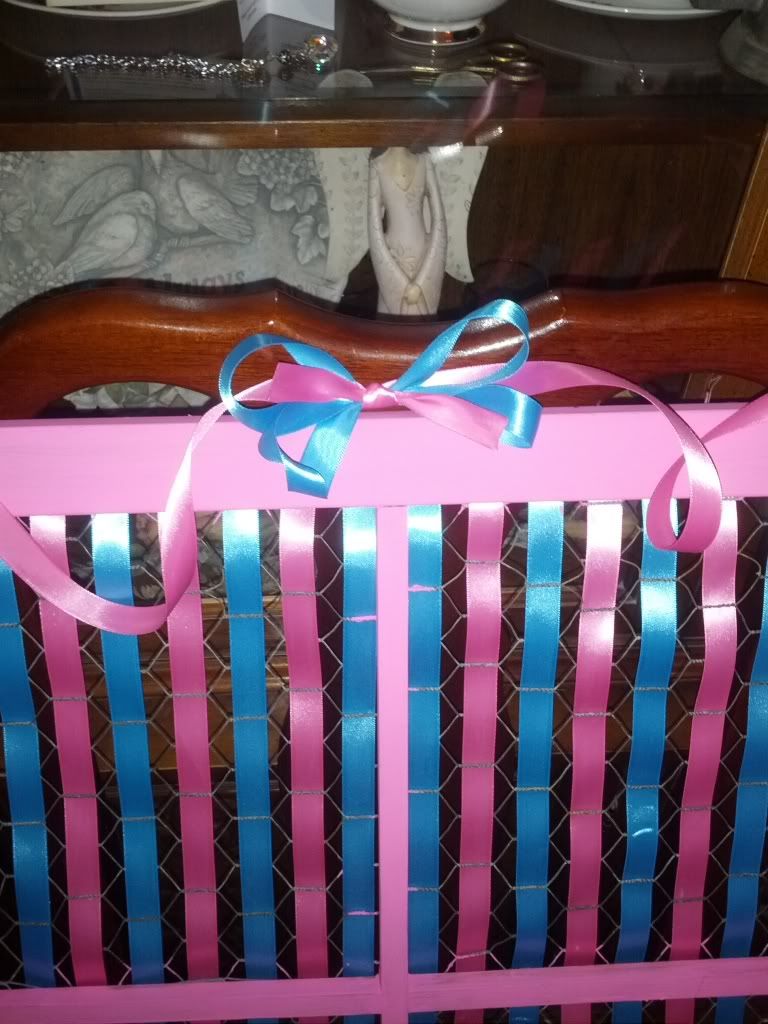
I made the bow, and tied it onto a longer piece of ribbon and glued it to the top corners of the frame. This way it would look like it was being held up by the ribbon and look prettier, however, I still hung it by the brackets that were already on the frame. I didn't think the ribbon and Elmer's could handle the weight.
 |
| Ribbon |
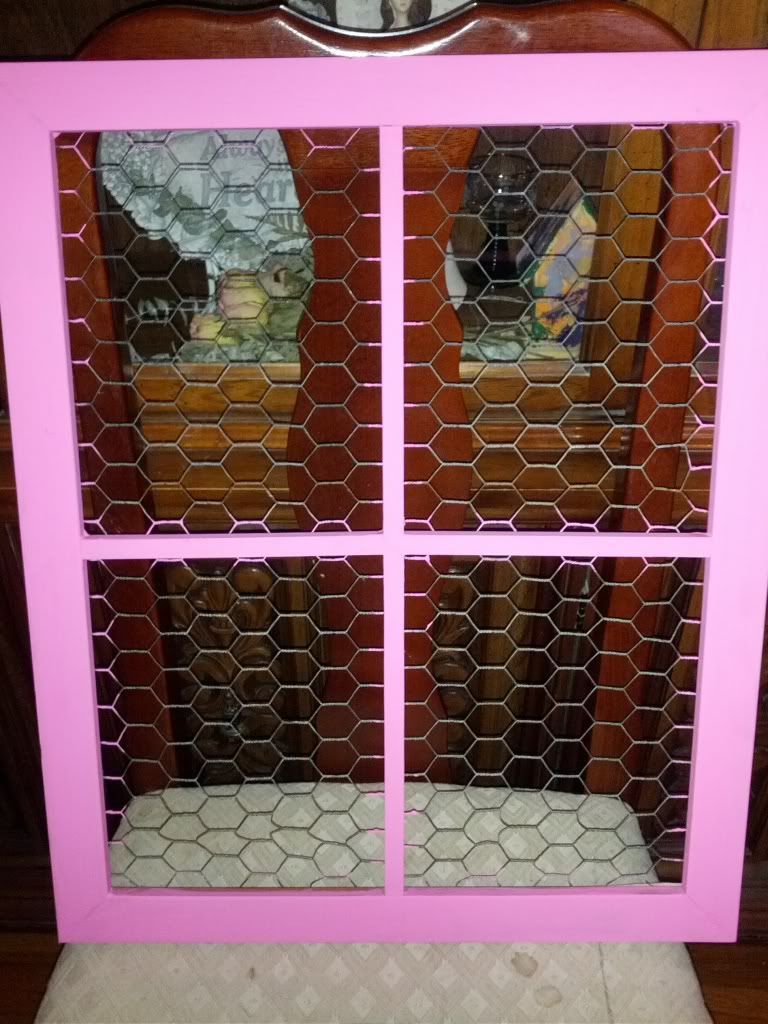
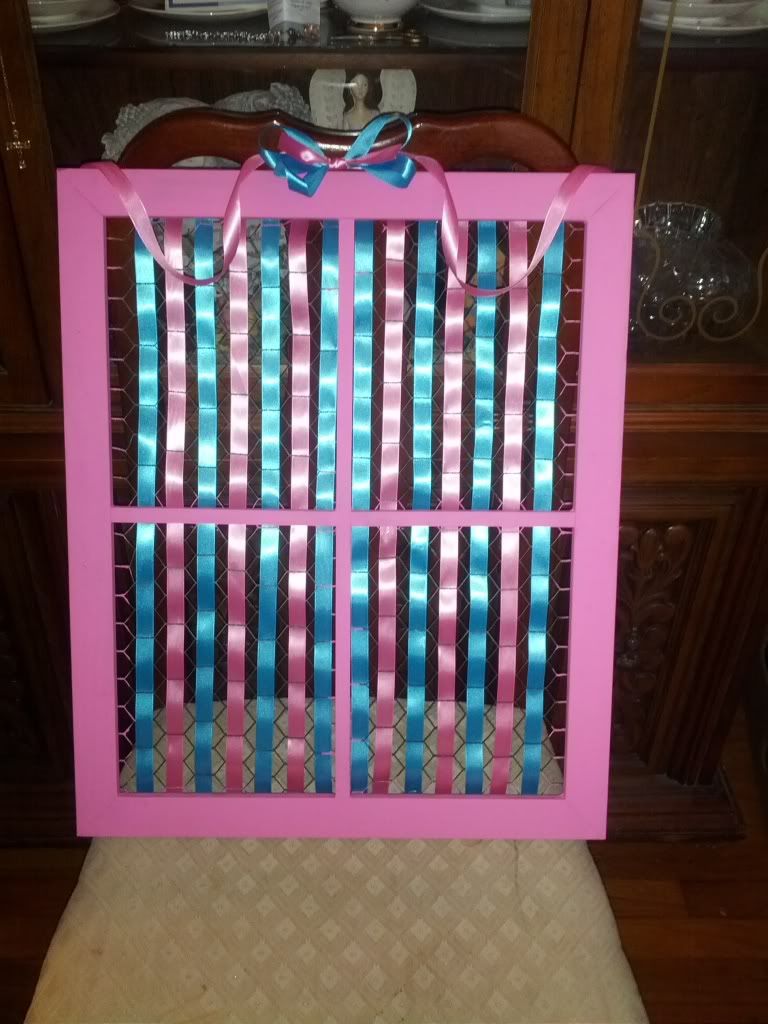 |
| Finished! |
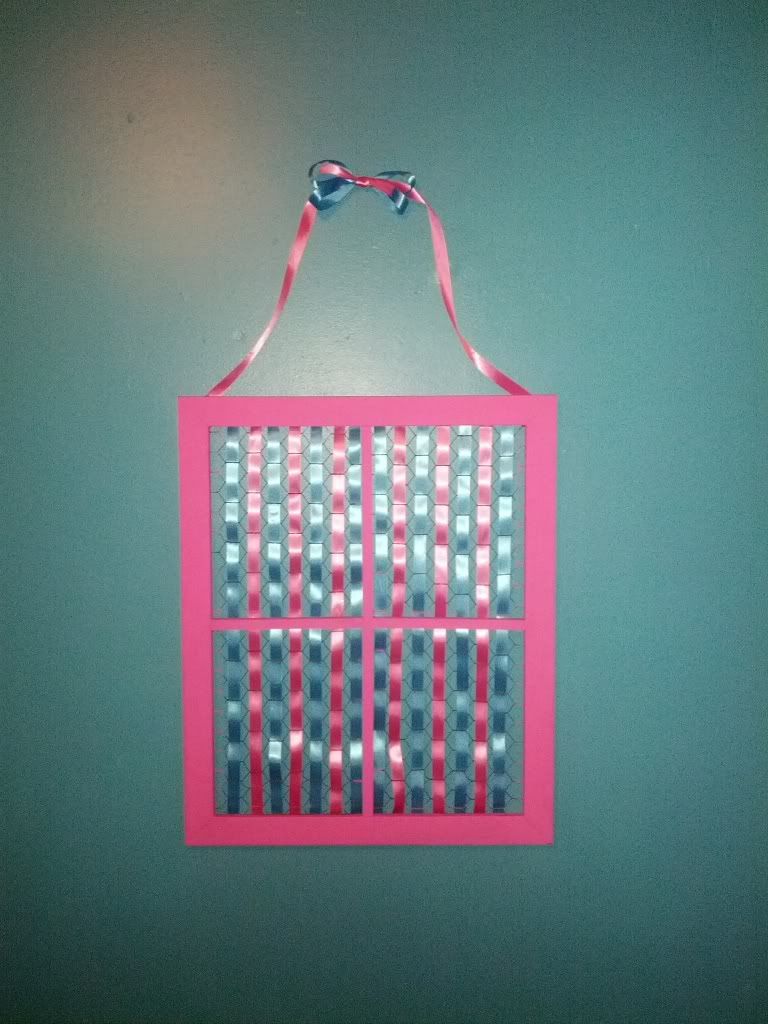 |
My total cost for this project was $0.57 for the paint, $0.97 for the brush, and $2.00 for the ribbon. So $3.54 for the whole project.
Well, there ya have it, folks! Hope you enjoyed reading about it as I did making it.
Like this post? Check out The Prairie Homestead and Homegrown and Healthy where this post is participating in blog hops.

Love it!!!
ReplyDelete